How to Set up Your Online Store
Setting up your own online B2B shop on Paccommerce is easy. All you need to start is to sign up for an account from the “Sign up” link on the navbar. No coding or design experience needed to set up and start selling from your own online shop.
Main steps to set up your shop:
Create a Paccommerce account
Enter your shop settings from dashboard
Add your products
And your online B2B shop is ready!
Create your Paccommerce Account
The first step is to create an account by clicking the “Start free trial” button. You will need a valid name, email address and shop name for this step.
Shop name will be used as the subdomain for your shop initially. Homepage of your shop will be your-shop-name.katalog.plus. You can later use your own domain after you connect your domain to your shop. See “how to connect your own domain” for more details.
After your sign up, a verification email will be sent to the email address you entered. Open that email and click the email verification link. If you do not receive a verification email within 5 minutes please check your “spam” folder.
Now you have a Paccommerce account! You can log in to your account from app.paccommerce.com and start setting up your store.
Setting up your online store
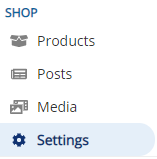
Select Shop > Settings from the side menu.
After you click the pen icon on the top-right corner of “Main Settings” it will become editable.
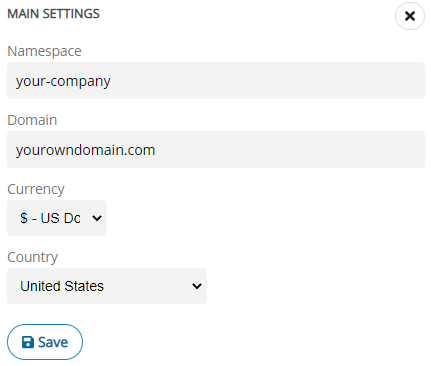
Namespace
Your namespace is the subdomain you will use to access your shop home page. You can use http://your-company.katalog.plus to access your shop.
Domain
Enter your own domain name to use for your shop. You need some additional configuration before you start using your own domain. Click the following link to learn more about how to set up your own domain name.
Currency
Select your preferred currency.
Country
Select your country.
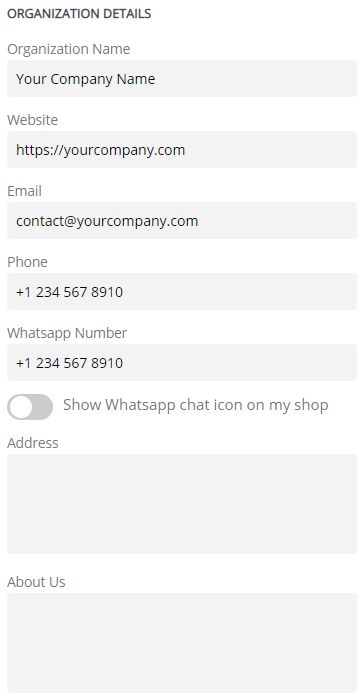
Organization Name
Enter the short name of your company. This will be displayed as page title on the browser window and also as header of your “About” page.
Website
If you have another company website you can enter it in this field. It will be added as a link to the footer of your site. If you will not use any other website you can leave this field empty.
Enter your contact email. This email address will be displayed on the “Contact” page.
Phone
Enter your contact phone number. This phone number will be displayed on the “Contact” page.
Whatsapp Number
Enter your whatsapp phone number. This phone number will be displayed on the “Contact” page. And if you activate the “Show whatsapp icon” toggle below, a whatsapp chat icon will be displayed on the corner of your shop. Your visitors can click this icon and start chatting with you on whatsapp.
Address
Enter your address. This address will be displayed on the “Contact” page.
About Us
Enter your company profile information. This text will be displayed on “About” page content. You can edit this field in multiple languages by selecting “Shop editing language” from the settings page.
Google Analytics Configuration
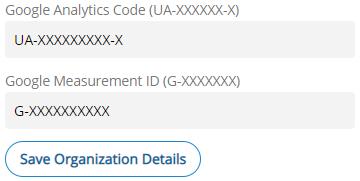
In order to track your website with Google Analytics you need to enter either your Google Analytics Code or Google Measurement Id. These codes will be generated by Google Analytics after you open an account on analytics.google.com. If you enter both of these codes, both of the tracking tags will be activated on your shop and you will be able to track activity using both of them.
Editing Language
You can change the editing language of your shop dashboard here. This language will be set as the editing language for the whole dashboard. If you plan to use a multilingual shop, first set up your shop and add products in your default language and then change the editing language and enter all the information in additional languages.
Shop Languages
You can add, or delete your shop languages from this section.
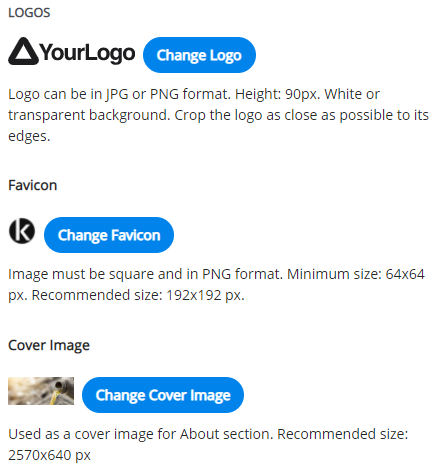
Logo
By clicking “Change Logo” upload your company logo. This logo will be placed on the main menu. Adding a logo with horizontal design is better for visibility.
Favicon
Favicon is the symbol that is generally shown on browser tabs. You can add your own favicon by clicking the “Change favicon” button.
Cover Image
Cover image is shown as the main image on your “About” page. An image with horizontal design which has the important content in the center is better viewed on both desktops and phones.
Now your shop is set up! It’s time for adding your products. Click “How to add products” to continue.